# Deploying Custom Connectors
Since a custom connector is based on a pre-built Docker image, you must pass the image tag to the build command. In the code example, the recent BASEIMAGE\_VERSION tag is 1.1.1.
1. To start and deploy your custom connector, write a `docker-compose.yml` file. The following code example starts the agent with a server:
{% code lineNumbers="true" %}
```yaml
docker-compose build --build-arg BASEIMAGE_VERSION=1.1.1
```
{% endcode %}
{% code lineNumbers="true" %}
```yaml
version: '2.4'
services:
# Run the example server
server:
build: .
network_mode: host # Using host network
entrypoint: ''
command: sh -c 'cd /app/src/protocols/custom/utils && node runServer.js'
agent:
build: .
network_mode: host # Using host network
volumes:
- agentData:/data
environment:
CYBUS_MQTT_HOST: localhost # Asuming Cybus Connectware to be reachable on local system
CYBUS_AGENT_MODE: distributed
CYBUS_AGENT_NAME: CustomConnectorAgent
CYBUS_LOG_LEVEL: info
volumes:
agentData:
```
{% endcode %}
2. To start your custom connector, use the following code:
{% code lineNumbers="true" %}
```yaml
docker-compose up -d
```
{% endcode %}
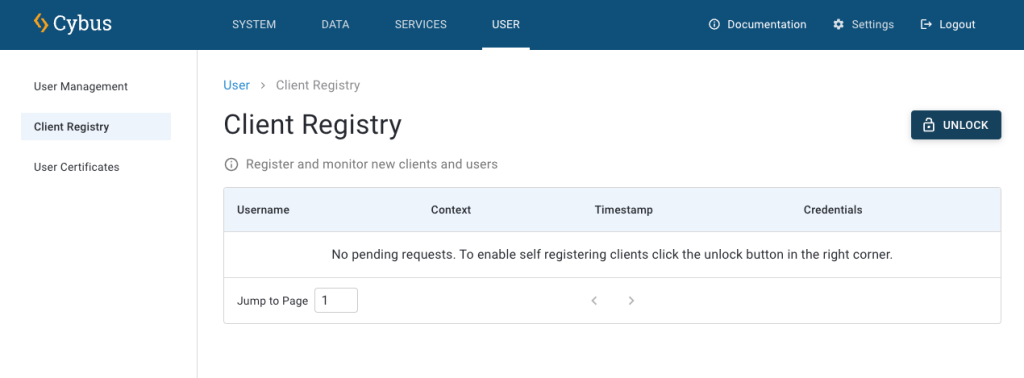
3. To register the custom connector as an agent in Connectware, log into Connectware and select **User** > **Client Registry**.
4. Click **Unlock** to allow the agent to register with Connectware.
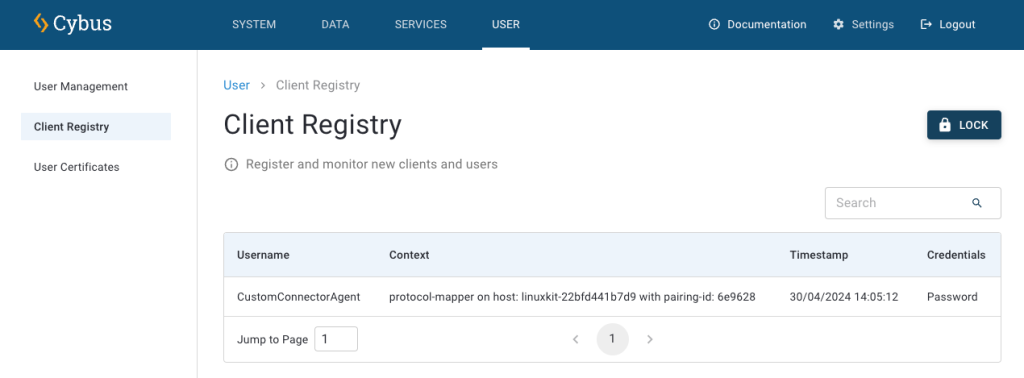
5. Once the client is registered, click it.
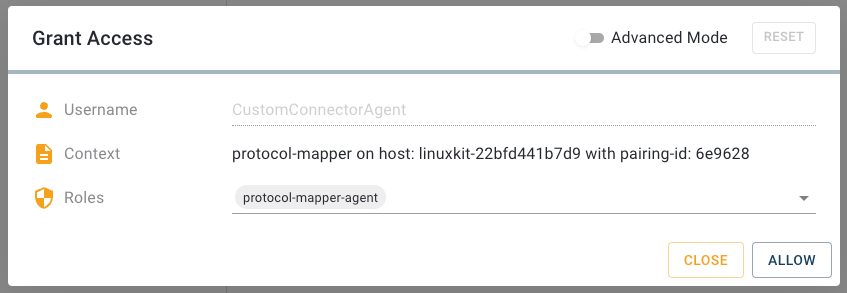
6. In the **Grant Access dialog**, click **Allow**. By default, the default permissions are assigned to the client.
**Result:** You can now use your custom connector.