# Roles
In Connectware, roles are groups of permissions that can be assigned to multiple users. This simplifies user management by allowing administrators to define standard permission sets based on job functions or responsibilities, rather than configuring permissions individually for each user.
Each permission represents a specific access right to a resource, whether it is an MQTT topic or an HTTP endpoint, with clearly defined read and/or write capabilities.
## Roles View
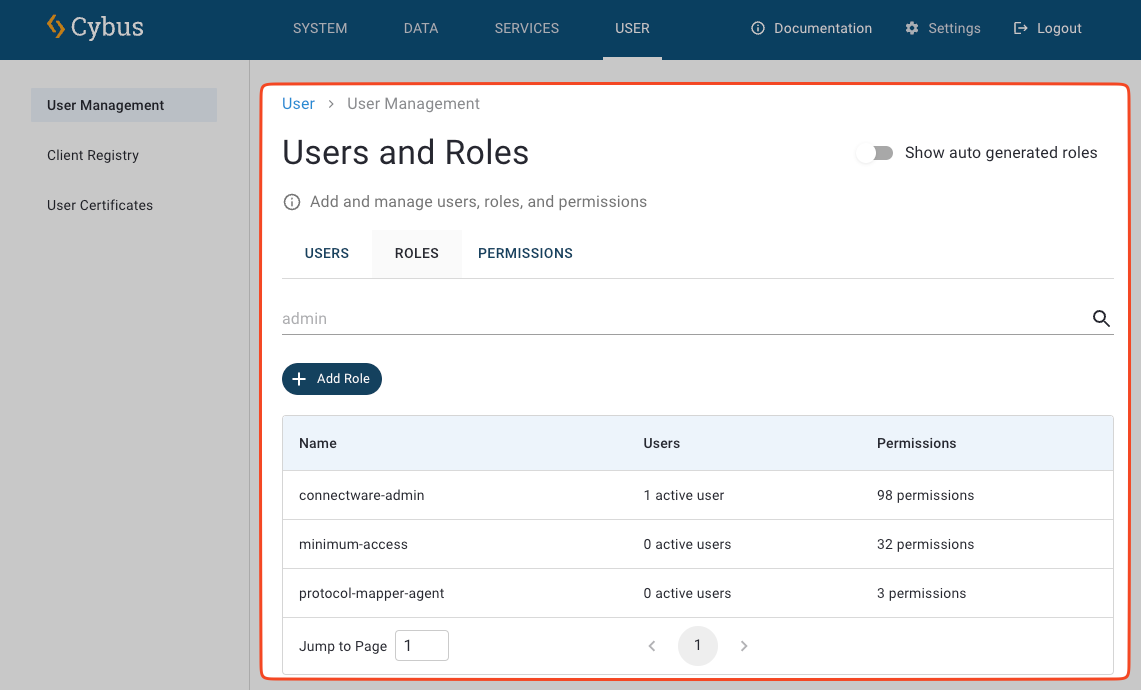
The **Roles View** provides a comprehensive dashboard of all defined roles in your Connectware system and their associated permissions. This makes it easy to audit your access control structure and identify which permissions are assigned to each role.
* To open the **Roles View**, click **User** and then click the **Roles** tab.
Roles View in Connectware
In this view, you can quickly identify:
* All available roles in the system.
* The specific permissions assigned to each role.
* Which roles might need modifications based on your security requirements.
## Creating New Roles and Permissions
Creating roles allows you to define permission sets once and apply them to multiple users.
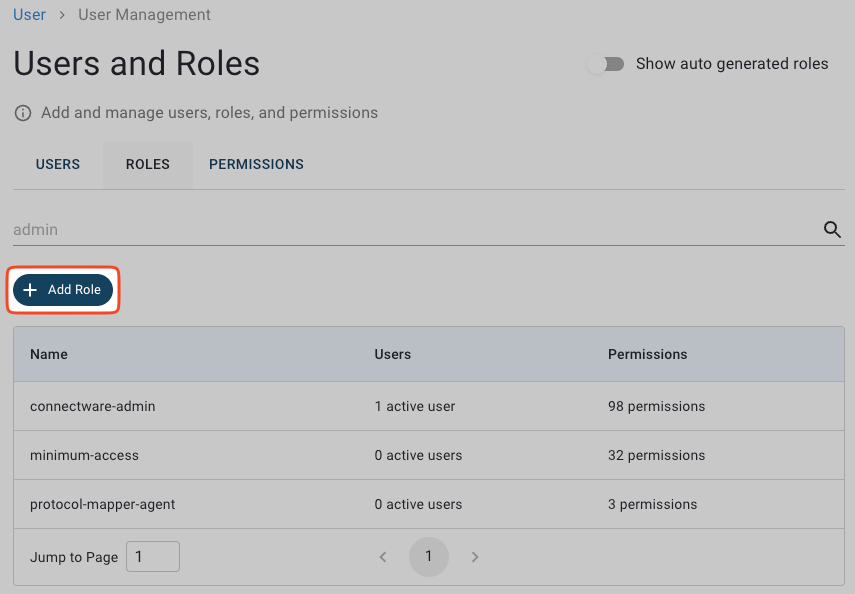
1. In the **Roles View**, click **Add Role** to open the **Create Role** dialog.
Add Role button
2. Enter a name for the new role.
3. Optional: To assign a set of pre-defined permissions to the role, click the **Copy Permissions** field, select a permission, and click **Add**. You can repeat this step to assign multiple permission sets.
4. Optional: To assign individual permissions, click the **+** button to open the **Add Permission** dialog.
* Select the permission type: **HTTP** for accessing the REST API using HTTP clients or **MQTT** for accessing MQTT topics on CybusMQ.
* In the **Endpoint** field, enter the resource path, which follows MQTT topic conventions. The specified topic can be a single topic or a wildcard. HTTP permissions for the resource path follow an MQTT topic structure. This means that you can use wildcards (**#** and **+**) in valid expressions, and paths must start with a leading slash (**/**).
* Select the access type: **read**, **write**, or **both**.
* Click **Add** to add the permission.
5. Click **Create**. The dialog will close, and the new role will appear in the overview table.
## Changing Role Names
To change the name of an existing role:
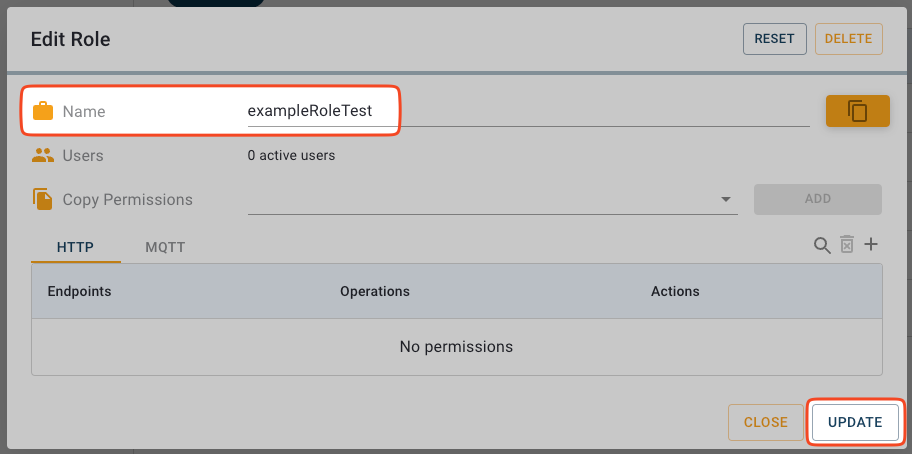
1. In the **Roles View**, click a role to open the **Edit Role** dialog.
2. In the **Edit Role** dialog, enter a new role name in the **Name** field.
Edit Role dialog
3. Click **Update** to apply the changes. The dialog will close and the role name will be updated.
## Adding Permissions to Roles
You can add individual permissions directly to a role as needed.
1. In the navigation panel, click **User**.
2. In the **Users and Roles View**, click the **Roles** tab.
3. In the **Roles View**, click the role to which you want to assign permissions. This opens the **Edit Role** dialog.
4. In the **Edit Role** dialog, click the **+** button to open the **Add Permission** dialog.
* Select the permission type: **HTTP** for accessing the REST API using HTTP clients or **MQTT** for accessing MQTT topics on CybusMQ.
* In the **Endpoint** field, enter the resource path, which follows MQTT topic conventions. The specified topic can be a single topic or a wildcard. HTTP permissions for the resource path follow an MQTT topic structure. This means that you can use wildcards (**#** and **+**) in valid expressions, and paths must start with a leading slash (**/**).
* Select the access type: **read**, **write**, or **both**.
* Click **Add** to add the permission.
4. Click **Update**. The dialog will close and the role is updated with the new permissions.
The updated role will immediately reflect the change, and all users assigned to this role will have the new permissions.
## Removing Permissions from Roles
When specific permissions are no longer needed, you can remove the corresponding endpoint them while keeping other permissions intact.
1. In the navigation panel, click **User**.
2. In the **Users and Roles View**, click the **Roles** tab.
3. In the **Roles View**, click the role you want to modify to open the **Edit Role** dialog.
4. Permissions are organized into tabs for **HTTP** and **MQTT**. Use the tabs to switch between and manage permissions for each protocol.
5. In the list of assigned permissions, locate the permission you want to remove.
6. To remove a permission, click its **Remove** button in the **Action** column of the permissions list.
7. Click **Update**. The dialog will close and the role is updated.
The updated role will immediately reflect the change, and all users assigned to this role will lose the removed permission.
## Deleting Roles
To delete a role:
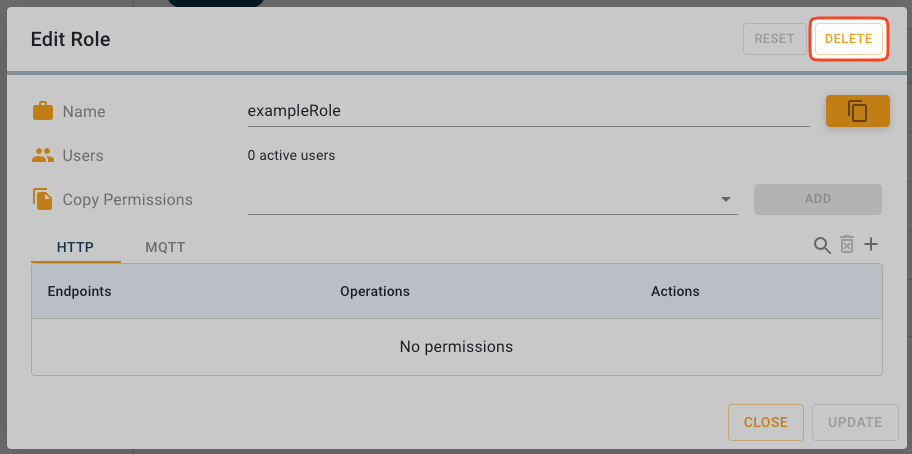
1. In the **Roles View**, click the role that you want to delete to open the **Edit Role** dialog.
2. Click the **Delete** button in the top right of the **Edit Role** dialog.
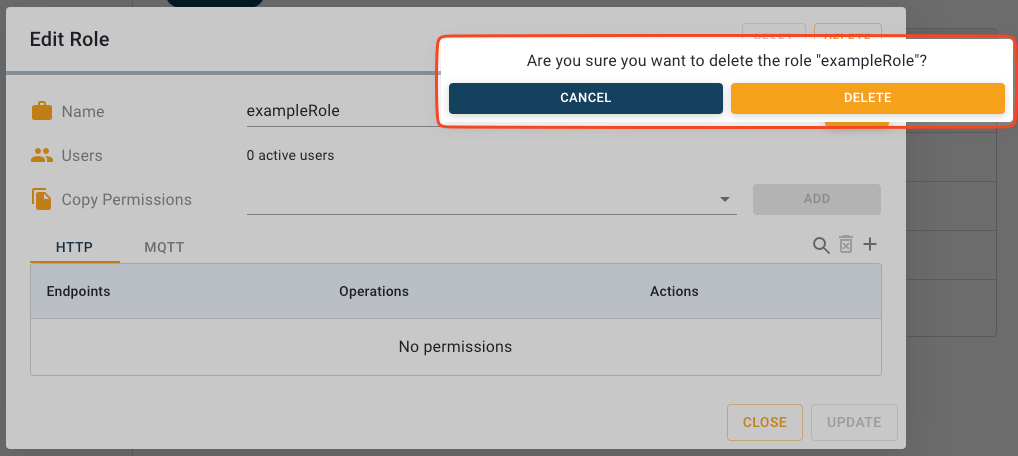
Delete Role button
3. Click **Delete** again to confirm. The role is deleted.