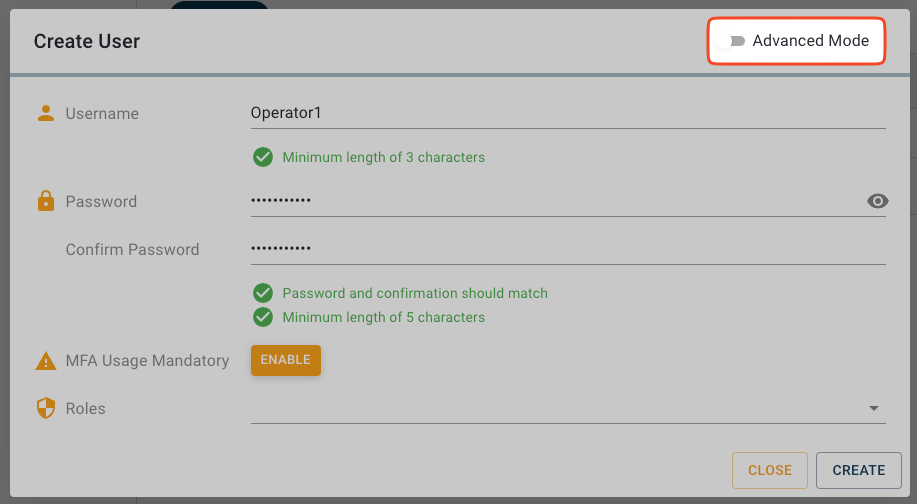
Advanced Mode in Create User dialog
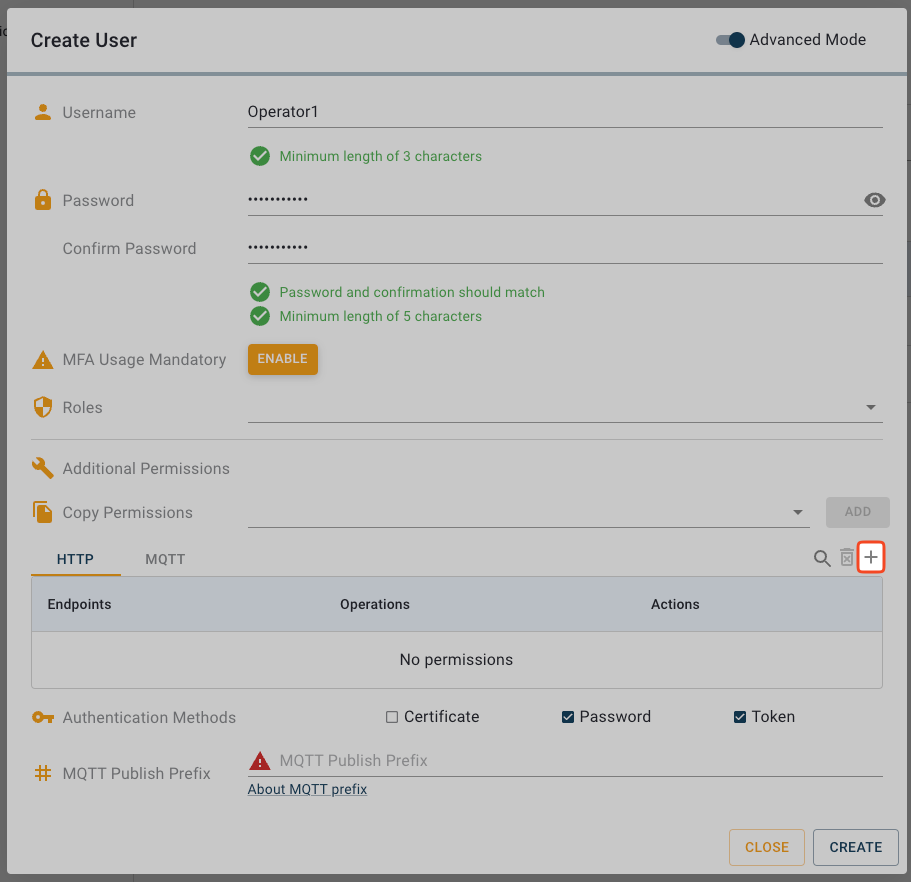
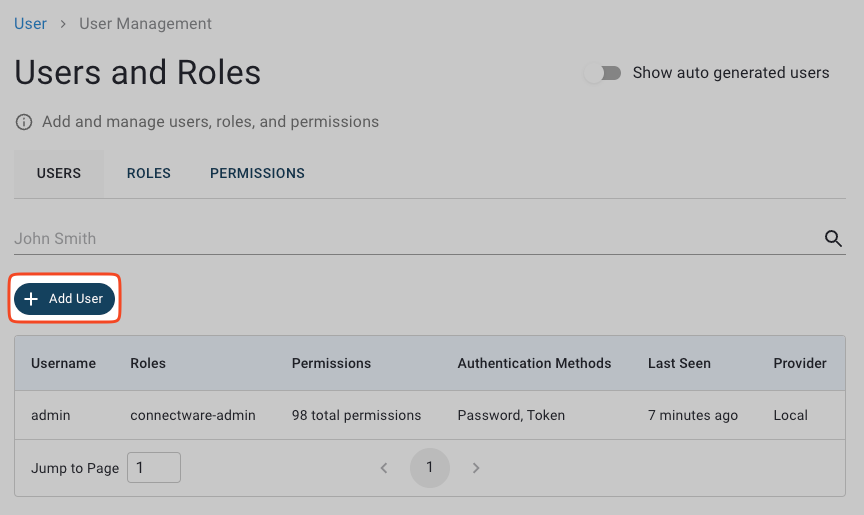
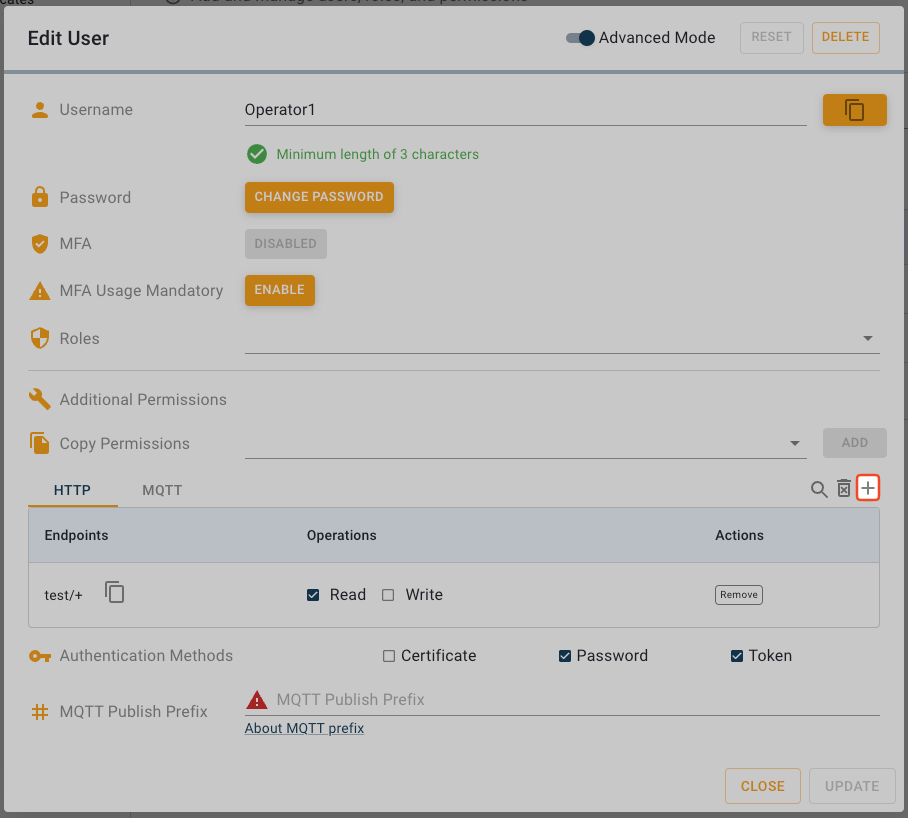
Add Permission button

Add Permission modal
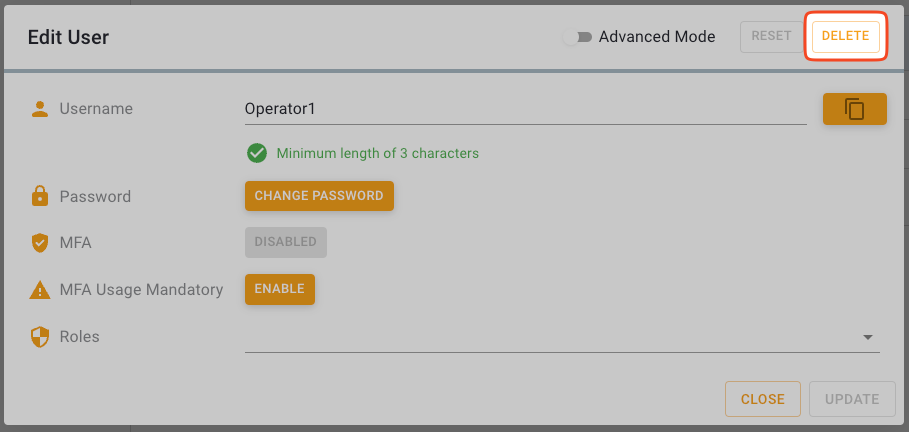
Delete button
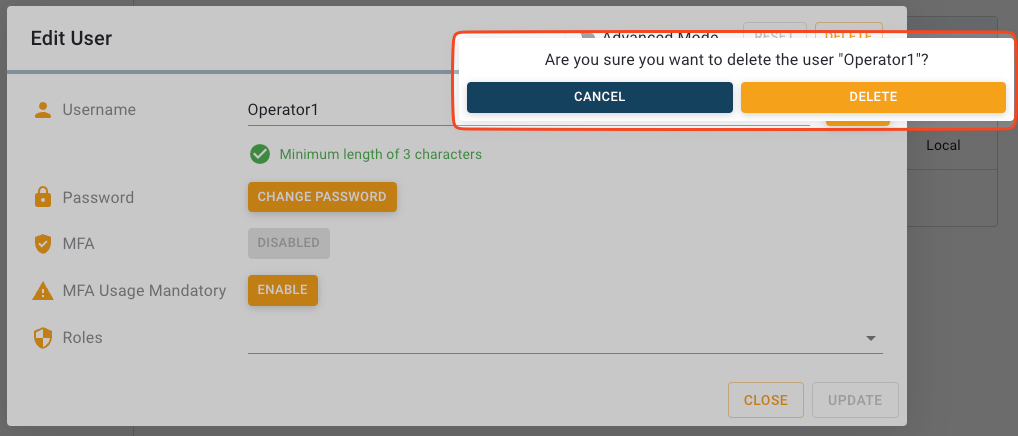
Delete confirmation
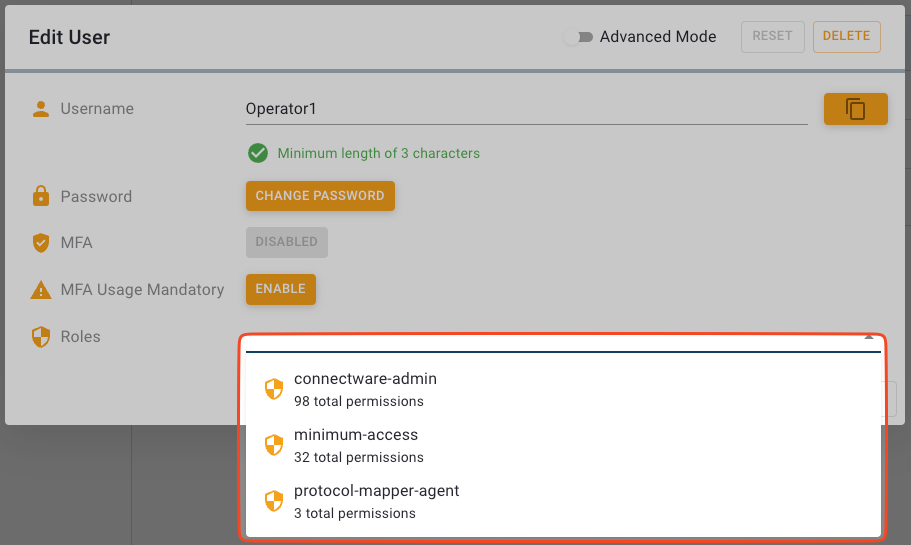
Add Role dropdown options
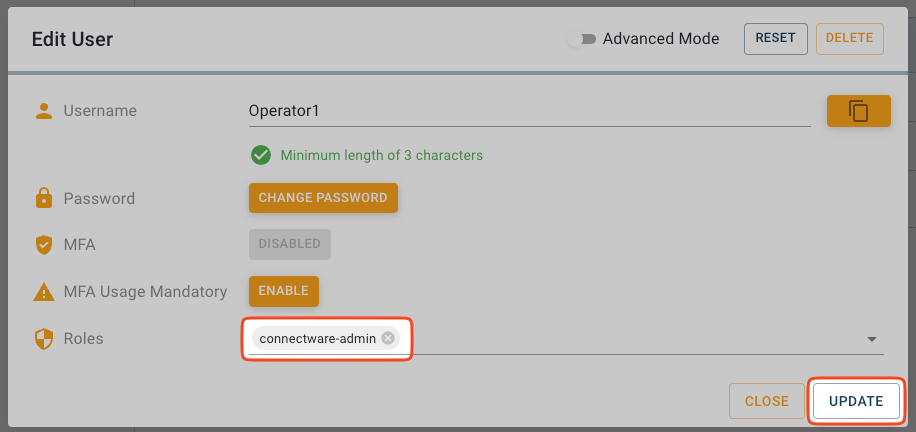
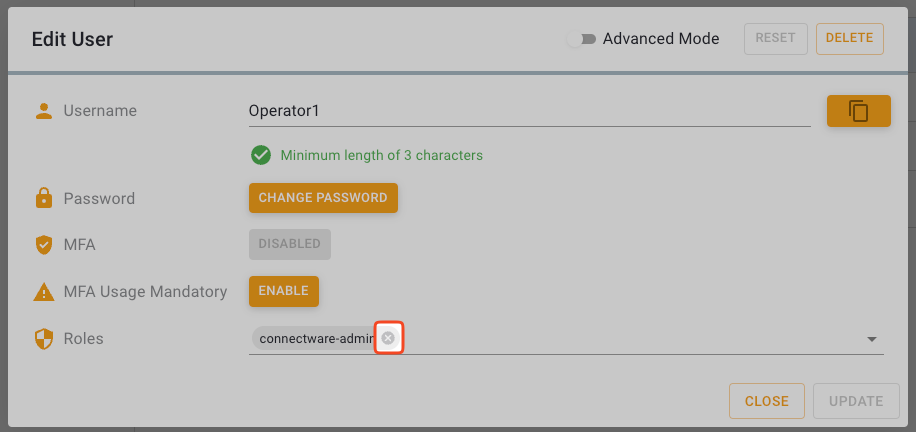
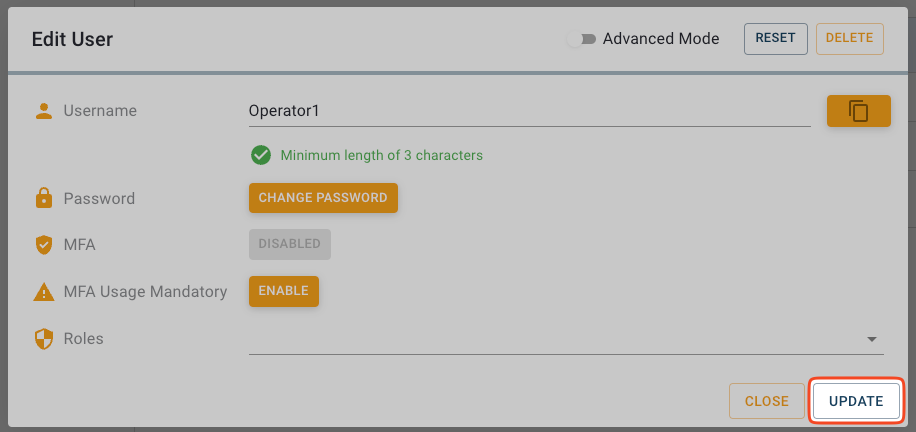
Remove role from user
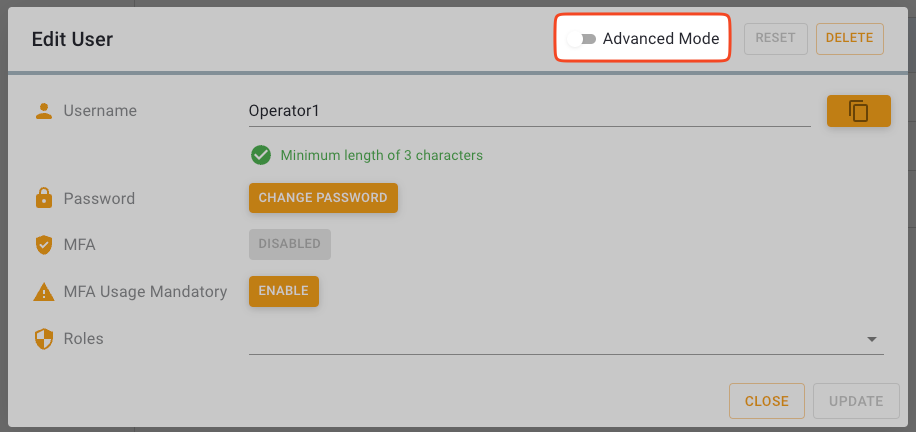
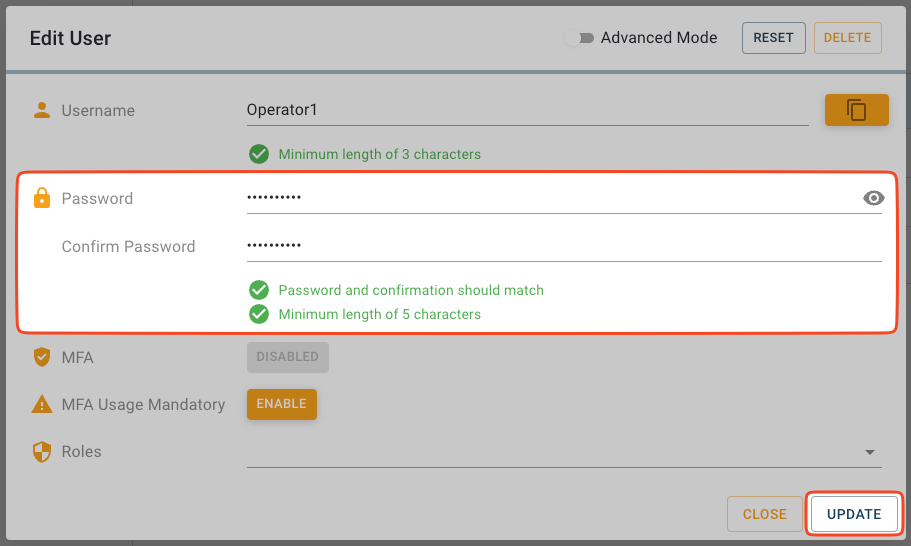
Activating Advanced Mode in Edit User dialog
Add Permission dialog
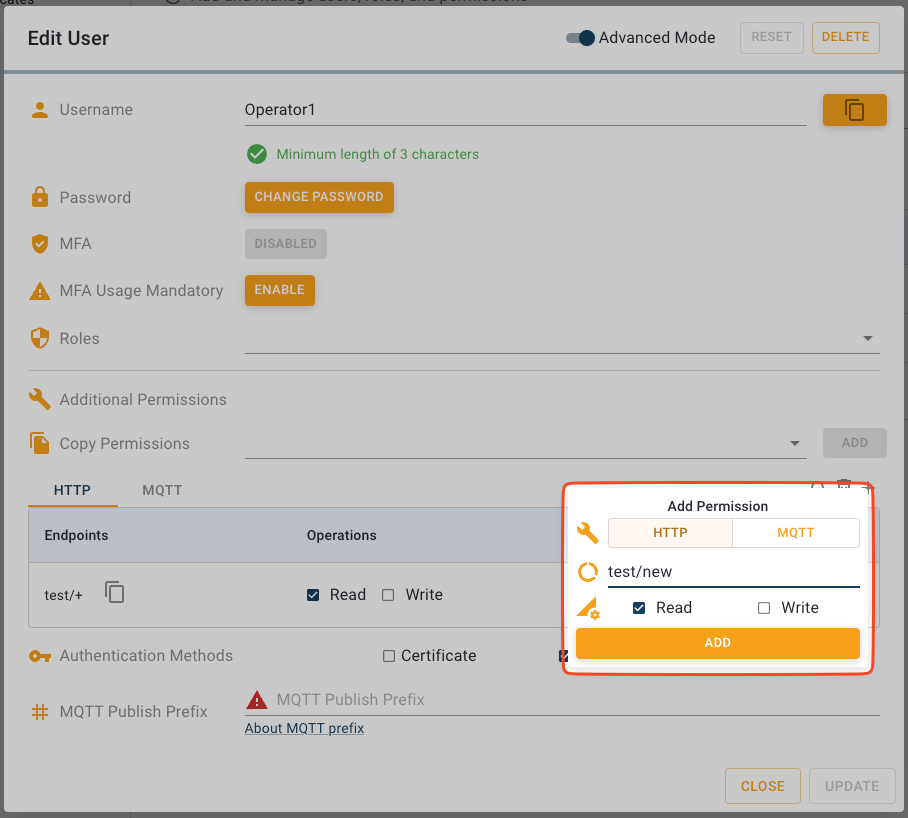
Add Permission modal
Activating Advanced Mode in Edit User dialog
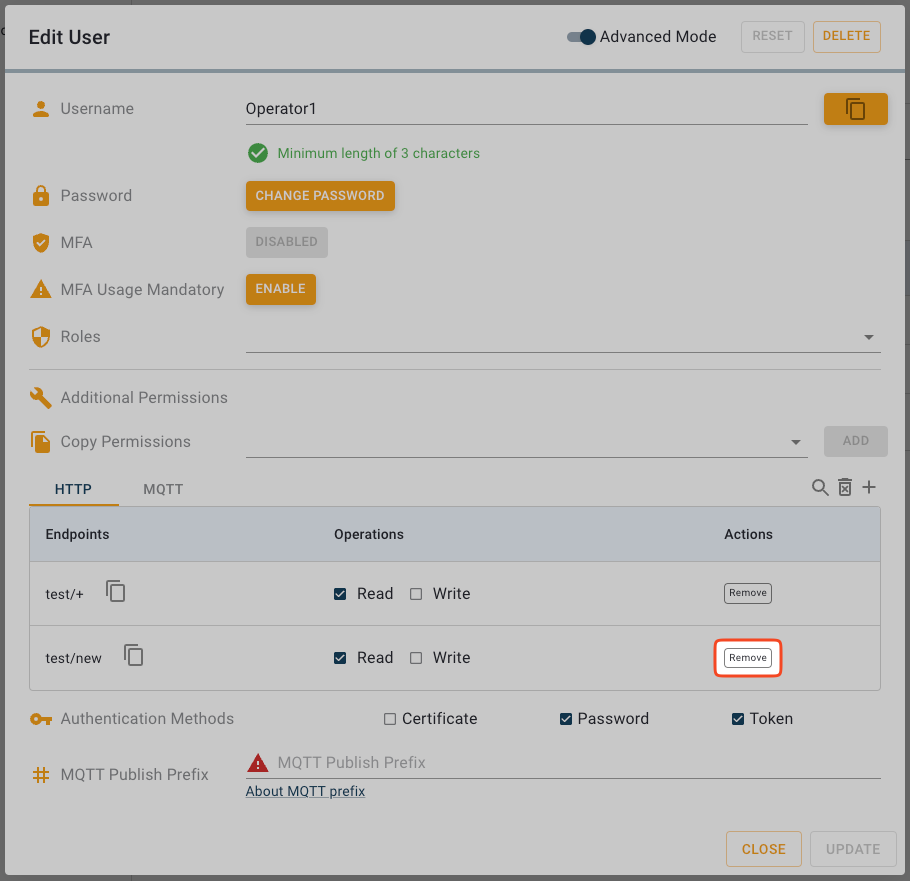
Remove permission from user
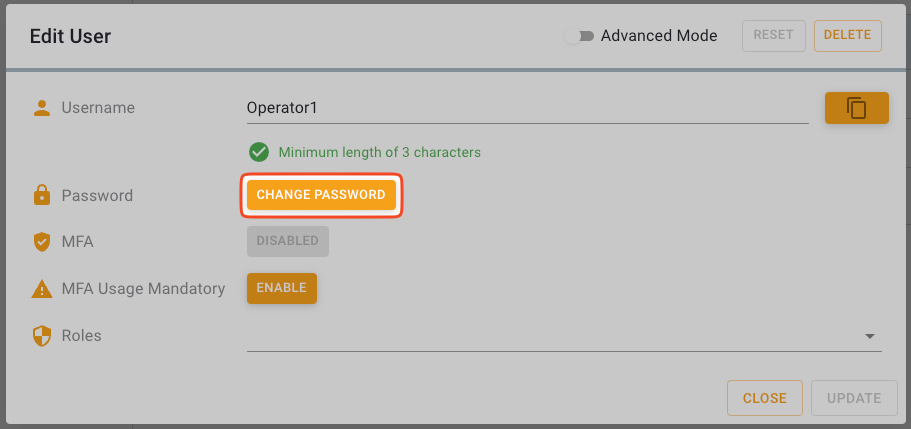
Change Password button
Change Password dialog